Bomberman Quest
Field Zone
Click a square of the map to leap to its description. |
A5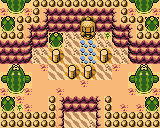 |
B5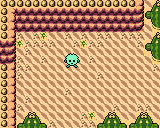 |
C5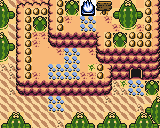 |
cavern
clouds dungeon |
A6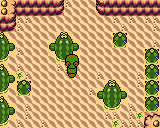 |
B6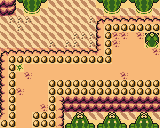 |
C6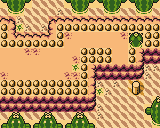 |
D6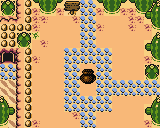 | |
A7 |
B7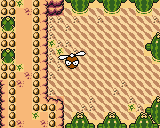 |
C7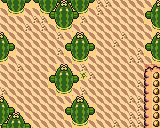 |
D7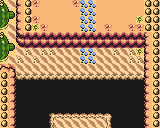 | |
A8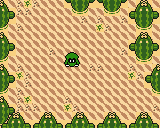 |
B8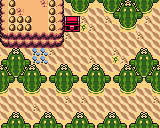 |
C8 |
D8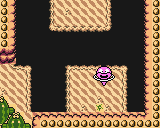 |
D6
The entrance to Desert Zone; go up to return to Peace Town, or right to access Beach Zone.
Defeat Bikuri / Jackenboxx to obtain the Wings.
If you came here from C6, you can enter the cavern.
D7
Use the Wings to cross the gap.
D8
Defeat Funny / Hoopster to obtain a Fire Up.
C8
To follow the main path, go left. Going up (through C7) will lead you to Flyball and Crystal Demon.
C7
Leads between C6 and C8. Nothing of interest here!
C6
Use the Hammer to access D6 and the cavern. To access the inner part of the map (leading to Flyball and the Boomerang), go up the ledge with the Jump Shoes or Wings. Use the Scoop / Shovel here to obtain an Ice Shard.
B6
Use the Scoop / Shovel on the higher platform (if you came from C6) to unearth a Skull.
B7
Defeat Flyball to obtain a Fire Up.
B8
The treasure chest contains the Boomerang.
A8
Defeat Pygmin to obtain a Miracle Armor / Platinum Armor.
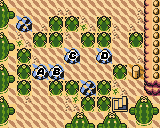
A7You need the Power Bracelet to move the boulders. Boulders are referred to by letter - see image on the right.
|  |
A6
To follow the main path, go right (through B6); for an optional item, go up.
Defeat Snaky to obtain a Poison Ivy.
A5
Knock the posts down with the Hammer and use the !? item in front of the statue to receive a Clock.
B5
Defeat Yeti to obtain the Punch / Gauntlets.
C5
The entrance to Burning Commander / Pyro Commander's lair. Equip the Glasses to reveal an Armored Jacket. Once the Desert Zone is completed, you can go up for a shortcut to Field Zone.
|
Screen 1: Accessed from D6. Use the Power Bracelets to push the rock onto the switch to make the bridge accessible.
| 1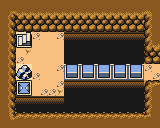 |
2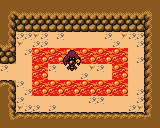 |
|
Screen 1: Accessed from A7. Hit the nail with the Hammer to lower the block. Watch out for the electricity between those conductors!
| 1 |  |
| 2 |  |
5
| 2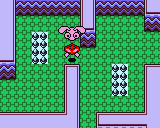
| 1
|
6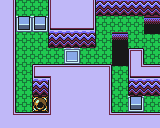
| 3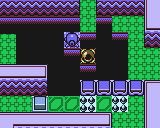
| 4
|
7
| 8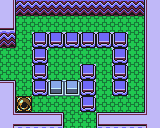
| |
10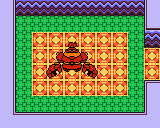
| 9
|
Screen 1: Accessed from C5. Equip your Dash Shoes to get past the arrows and collapsing tiles - though you're safest just flying over the gaps with the Wings.
Screen 2: This screen leads to both Screens 3 and 5; you'll want to visit Screen 3 first to unlock the main path.
Defeat Hippity-Hop to obtain an Explosive Core.
Screen 3: If entering from Screen 2, bomb the switch to lower the block on the bottom path; you can access the optional Screen 4 from here. If entering from Screen 6, use the Dash Shoes paired with the Jump Shoes/Wings or the Safety Shoes to cross the collapsing tiles and spikes; this leads to Screen 7.
Screen 4: Defeat Sparky to obtain a Full Heart.
Screen 5: Dangerous balls will roll down the corridors towards the pits. Avoid them with the Jump Shoes or Wings, or stop them temporarily with a Stopwatch.
Screen 6: The switch in Screen 3 needs activated to enter. You must deactivate the switch to cross the middle barrier, but time a bomb to reactivate it once you've crossed to open the bottom-right barrier.
Screen 7: Defeat Tinklebear to obtain a Fire Up.
Screen 8: You require the Long-fused Bomb to solve this puzzle. Bombing the switch only lowers the blocks for a split-second. Lay a Long-fused Bomb at the switch, then race to the blocks (using the Dash Shoes) before the bomb detonates.
Screen 9: Defeat Shadow Knight to obtain the Honey Card.
Screen 10: The boss room! Defeat Burning Commander / Pyro Commander to obtain an Explosive Core, an extra unit of health and the final shuttle part!
| RETURN TO GAME INDEX |
RETURN TO MASTER GAME LIST |
RETURN TO HOME PAGE |
| page last modified: 11/12/2017 | ||