Bomberman GB 2
Areas
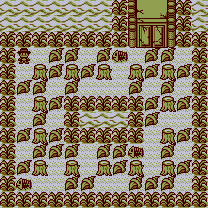
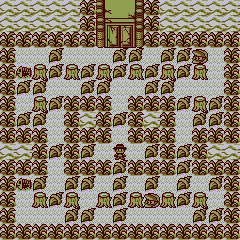
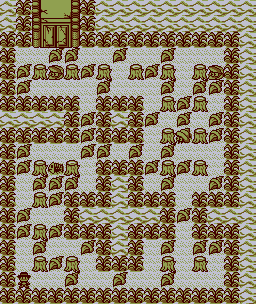
All soft block and enemy positions are predetermined.
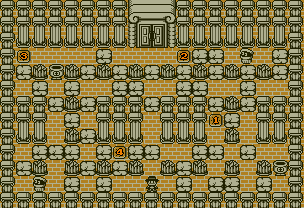
Mode A - Monster Trial
No gimmickry.
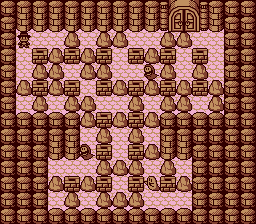
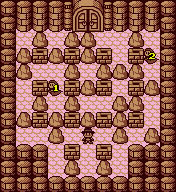
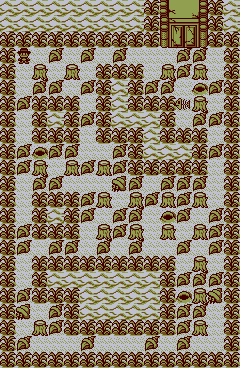
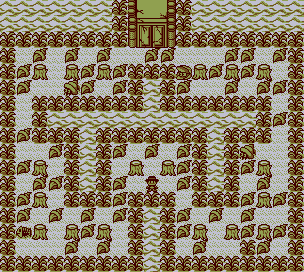
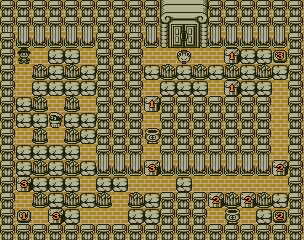
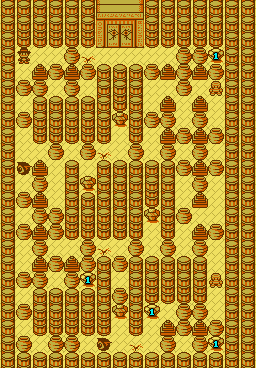
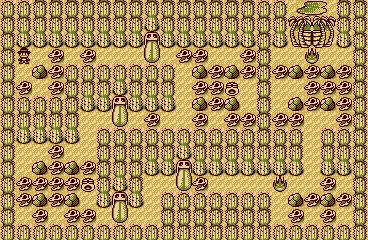
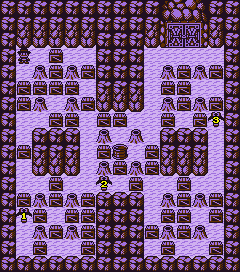
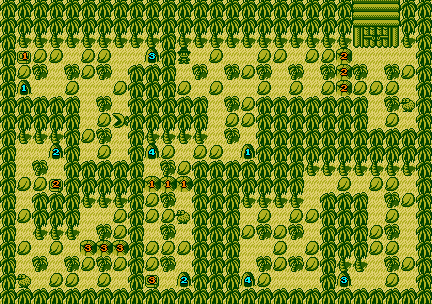
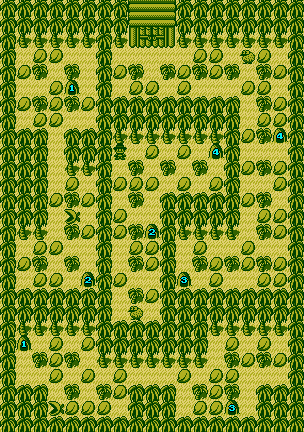
Area 1-1

Time: 1:50
Enemies: Yuukun x 3
Items: Bomb Up, Fire Up
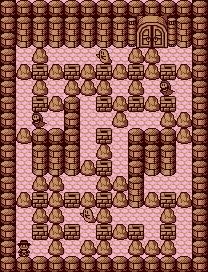
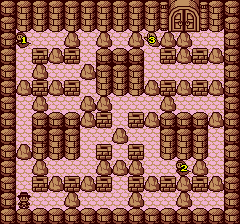
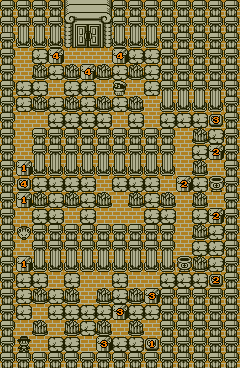
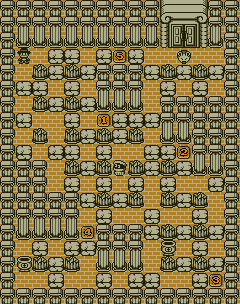
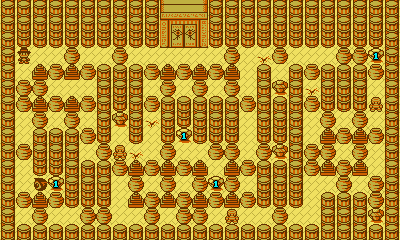
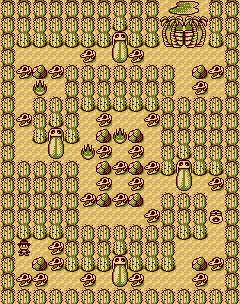
Area 1-2
Time: 2:20
Enemies: Yuukun x 2, Obachan x 1
Items: Bomb Up, Fire Up x 2
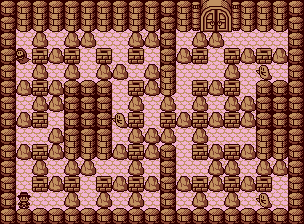
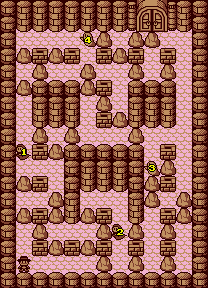
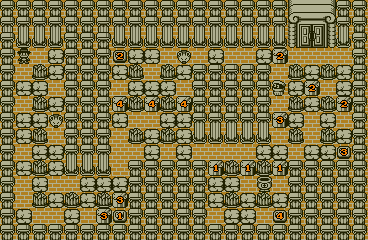
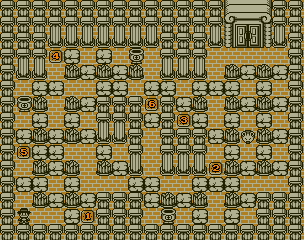
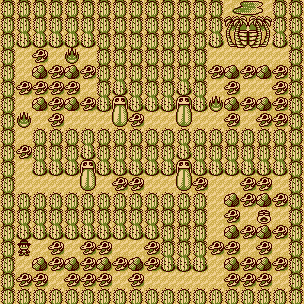
Area 1-3
Time: 2:10
Enemies: Yuukun x 2, Obachan x 2
Items: Bomb Up x 2, Fire Up
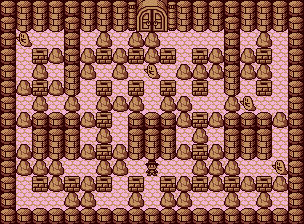
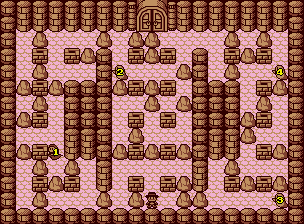
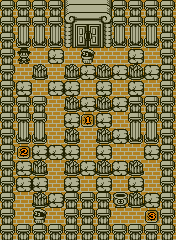
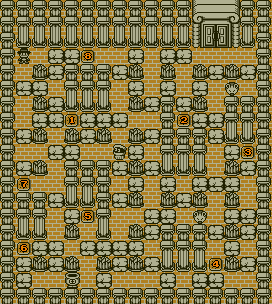
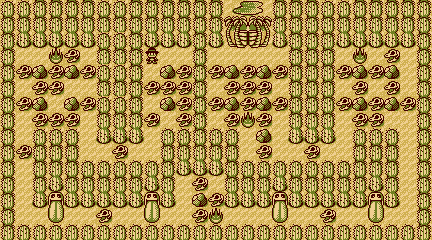
Area 1-4
Time: 3:00
Enemies: Yuukun x 1, Obachan x 3
Items: Bomb Up x 2, Fire Up x 2
Area 1-5
Time: 3:20
Enemies: Obachan x 4
Items: Bomb Up x 2, Fire Up x 3
Mode B - Monster Count
Defeat all enemies in order. The next enemy is marked by an arrow in-game.
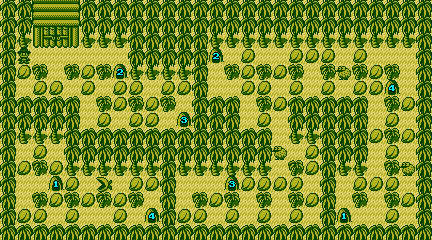
Area 1-1
Time: 4:10
Enemies: Yuukun x 2
Items: Bomb Up, Fire Up
Area 1-2
Time: 4:20
Enemies: Yuukun x 2, Obachan x 1
Items: Bomb Up, Fire Up x 2
Area 1-3
Time: 4:10
Enemies: Yuukun x 2, Obachan x 2
Items: Bomb Up x 2, Fire Up
Area 1-4
Time: 4:20
Enemies: Yuukun x 1, Obachan x 3
Items: Bomb Up x 2, Fire Up x 2
Area 1-5

Time: 4:30
Enemies: Obachan x 4
Items: Bomb Up x 2, Fire Up x 3
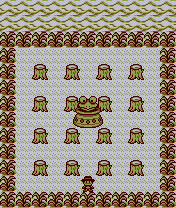
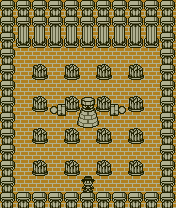
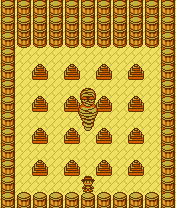
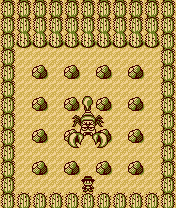
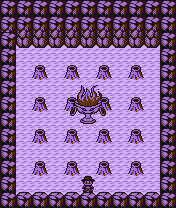
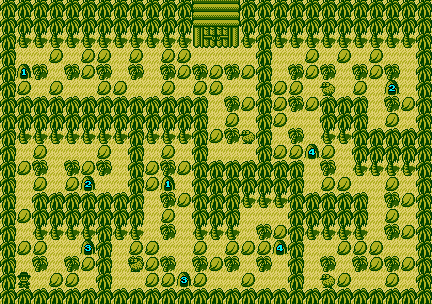
1-BOSS: Curse / カース (Kahs)
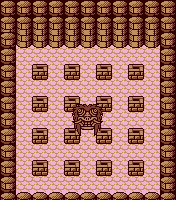
Moves in a circuit in the centre of the arena. Launches its two eyeballs onto the field, which alternate between aimless meandering and idle pursuit; eyeballs can be destroyed with one blast. Can only be damaged when its eyeballs are detached. Requires 5 hits to defeat.
 Yuukun / ゆうくん: Pursues Bomberman if it can, otherwise moves aimlessly.
 Obachan / おばちゃん: Moves aimlessly. Only changes direction when it hits an obstacle.
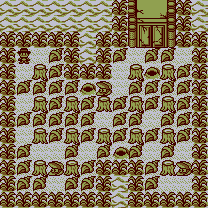
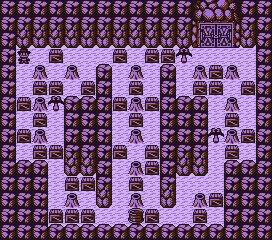
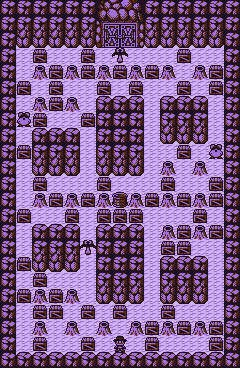
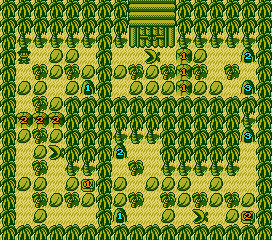
Mode A: Hideout Swamp
Hideouts will only appear when Bomberman is 1 tile away from them, so tread carefully. All Hideouts must be destroyed before the stage can be completed.
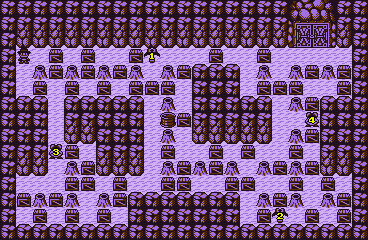
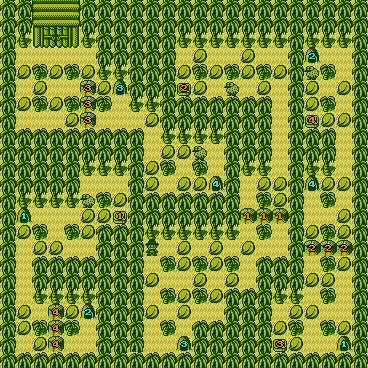
Area 2-1
Time: 4:10
Enemies: Kaikai x 3, Hideout x 3
Items: Bomb Up, Fire Up
Area 2-2
Time: 4:20
Enemies: Kaikai x 2, Honehone x 2, Hideout x 4
Items: Bomb Up, Fire Up x 2
Area 2-3
Time: 5:00
Enemies: Yadokari, Kaikai, Honehone x 2, Hideout x 4
Items: Bomb Up x 2, Fire Up
Area 2-4

Time: 4:30
Enemies: Yadokari x 2, Kaikai, Honehone, Hideout x 4
Items: Bomb Up x 2, Fire Up x 2
Area 2-5
Time: 4:40
Enemies: Yadokari x 3, Honehone, Hideout x 4
Items: Bomb Up x 2, Fire Up x 3
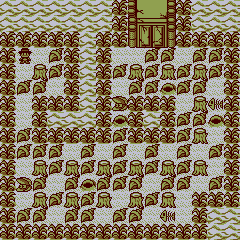
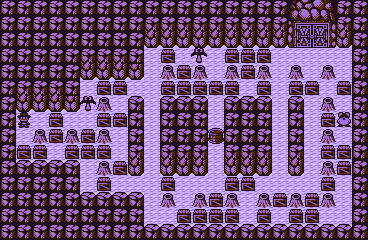
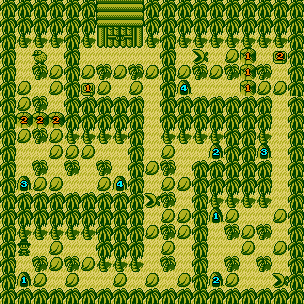
Mode B: Regeneration Swamp
If an enemy is defeated, it will respawn from its Hideout. All Hideouts and enemies must be destroyed. Hideouts are always visible in this mode.
Area 2-1
Time: 3:50
Enemies: Honehone x 3, Hideout x 3
Items: Bomb Up, Fire Up
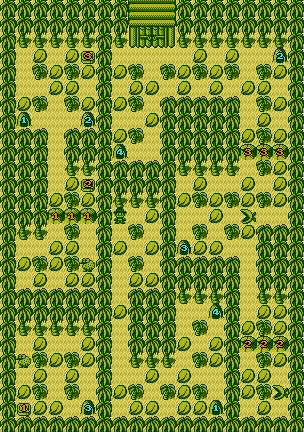
Area 2-2
Time: 4:00
Enemies: Kaikai x 2, Honehone x 2, Hideout x 4
Items: Bomb Up, Fire Up x 2
Area 2-3
Time: 4:10
Enemies: Yadokari, Kaikai x 2, Honehone, Hideout x 4
Items: Bomb Up x 2, Fire Up
Area 2-4
Time: 4:20
Enemies: Yadokari, Kaikai, Hideout x 4
Items: Bomb Up x 2, Fire Up x 2
Area 2-5

Time: 4:30
Enemies: Yadokari x 3, Honehone, Hideout x 4
Items: Bomb Up x 2, Fire Up x 3
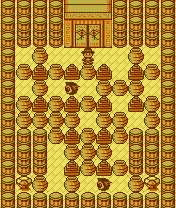
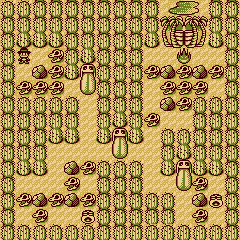
2-BOSS: マッドボット / Madpot (Madbot)
Moves in a circuit around the top two rows. If Bomberman is below it, it will perform a spinning attack towards the bottom of the arena before returning to its original position; it is invincible during the attack, but vulnerable at any other time.
It will spawn miniature minions (
 ) that roam slowly and aimlessly around the arena. It will always spawn more until there are 3 on the field.
Requires 6 hits to defeat.
 Yadokari / やどかり: Moves very slowly, changes direction at every junction. Speeds up when bombed. Requires 2 hits to defeat.
 Kaikai / かいかい: Moves one tile at a time. Only changes direction upon hitting an obstacle.
 アジト / Hideout: A trap that kill Bomberman instantly if touched, even if he's riding a Moto. They are invisible in Mode A, but a kicked bomb will stop on contact with them to make finding them easier.
 ほねほね / Honehone: Moves slowly and only changes direction upon hitting an obstacle or seeing Bomberman.
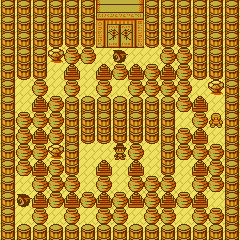
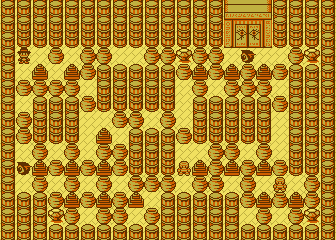
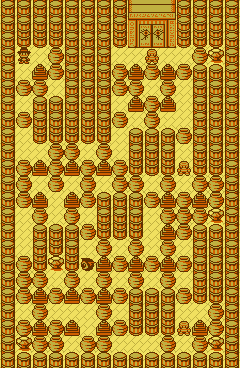
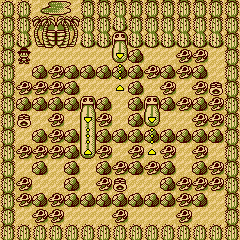
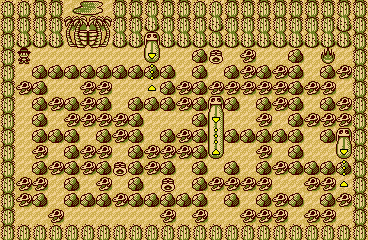
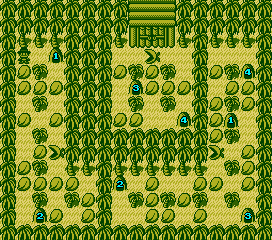
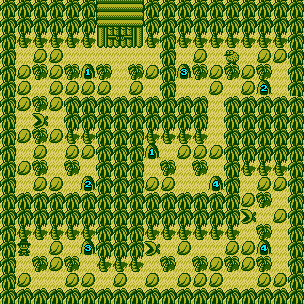
Mode A: Switch Ruins
Bomb the switches to lower or raise the pillars. Be careful that you don't trap yourself!
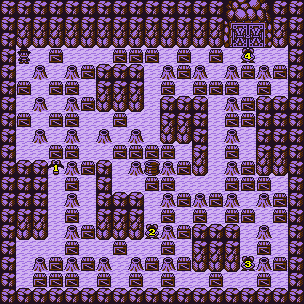
Area 3-1
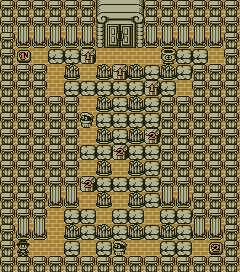
Time: 4:10
Enemies: Porigon x 2, [pot]
Items: Bomb Up, Fire Up
Area 3-2
Time: 4:20
Enemies: Porigon, [pot] x 3
Items: Bomb Up, Fire Up x 2
Area 3-3
Time: 4:30
Enemies: Porigon, [pot] x 2, Chu
Items: Bomb Up x 2, Fire Up
Area 3-4
Time: 4:40
Enemies: Porigon, [pot] x 2, Chu
Items: Bomb Up, Fire Up x 2
Area 3-5
Time:
Enemies: Porigon, [pot], Chu x 2
Items: Bomb Up, Fire Up x 3
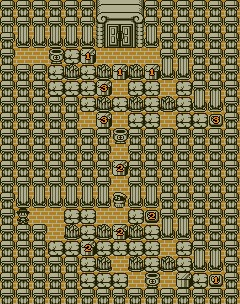
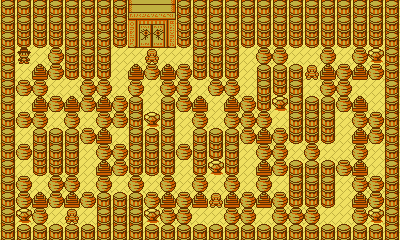
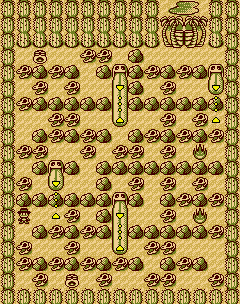
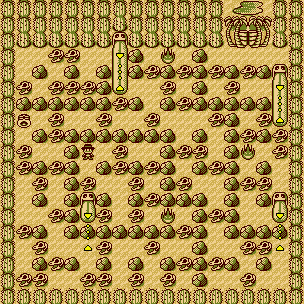
Mode B: Switch On Switch
All switches must be activated in order (and all enemies defeated) before the exit will open. Switches can't be turned off, so don't worry about bombing them again.
Area 3-1
Time: 4:10
Enemies: Porigon x 2, [pot]
Items: Bomb Up, Fire Up
Area 3-2
Time: 4:10
Enemies: Porigon x 2, [pot] x 2
Items: Bomb Up, Fire Up x 2
Area 3-3
Time: 4:30
Enemies: Porigon, [pot] x 2, Chu
Items: Bomb Up x 2, Fire Up
Area 3-4
Time: 4:30
Enemies: [pot] x 3, Chu
Items: Bomb Up x 2, Fire Up x 2
Area 3-5
Time: 4:30
Enemies: Porigon, [pot], Chu x 2
Items: Bomb Up x 2, Fire Up x 3
3-BOSS: コリントマン / Corintman
Flies towards Bomberman for 6 to 7 seconds before landing for a short period; it is vulnerable while on the ground.
On takeoff it will deploy a small tank (
 ) that does nothing but move slowly up and down. A total of 3 can be spawned.
Requires 7 hits to defeat.
 ぽりごん / Porigon: Only changes direction upon hitting an obstacle or seeing Bomberman.
 [pot]: Occasionally lays a bomb with a 1-tile blast radius, often blowing itself up.
 ちゅー / Chu: Pursues Bomberman.
Mode A: Mighty Monsters
All enemies are invincible; you must destroy the gems to defeat them and open the exit.
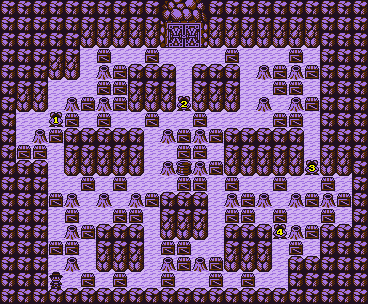
Area 4-1
Time: 2:50
Enemies: Cursed Eyeball x 2
Items: Bomb Up, Fire Up
Area 4-2
Time: 4:10
Enemies: Cursed Eyeball x 2, Mummy
Items: Bomb Up, Fire Up x 2
Area 4-3
Time: 5:00
Enemies: Cursed Eyeball x 2, Mummy x 2
Items: Bomb Up x 2, Fire Up
Area 4-4
Time: 5:00
Enemies: Cursed Eyeball, Mummy x 3
Items: Bomb Up x 2, Fire Up x 2
Area 4-5
Time: 5:00
Enemies: Mummy x 4
Items: Bomb Up x 2, Fire Up x 3
Mode B: The Fake Gem
All enemies are invincible; you must destroy the gems to defeat them and open the exit. There are fake gems that will trigger poison gas from one of the cracks if bombed, essentially walling off that path; the gas will instantly kill Bomberman, even if riding the Moto.
Area 4-1
Time: 4:20
Enemies: Cursed Eyeball x 3
Items: Bomb Up, Fire Up
Area 4-2
Time: 4:20
Enemies: Cursed Eyeball x 3, Mummy
Items: Bomb Up, Fire Up x 2
Area 4-3
Time: 5:00
Enemies: Cursed Eyeball x 2, Mummy x 2
Items: Bomb Up x 2, Fire Up
Area 4-4
Time: 4:30
Enemies: Cursed Eyeball, Mummy x 3
Items: Bomb Up x 2, Fire Up x 2
Area 4-5

Time: 4:30
Enemies: Mummy x 4
Items: Bomb Up x 2, Fire Up x 3
4-BOSS: ダイマミー / Daimummy
Moves 2 tiles at a time, chasing and strafing Bomberman. Fires 3 lasers in the player's general direction, two straight and one diagonal. Cannot be harmed while moving.
Requires 8 hits to defeat.
 のろいのめだま / Cursed Eyeball: Moves slowly, only changing direction upon hitting an obstacle or if it sees Bomberman.
 マミー / Mummy: Appears to be identical to the Cursed Eyeball.
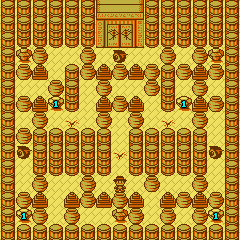
Mode A: Monster's Tongue
The tongues are gates that need blown up to open. They will return to their original position after 6 seconds unless a player or object is blocking its path.
Area 5-1
Time: 2:50
Enemies: Oh-he x 2, Boh
Items: Bomb Up, Fire Up
Area 5-2
Time: 4:30
Enemies: Oh-he x 2, Boh x 2
Items: Bomb Up, Fire Up x 2
Area 5-3
Time: 4:00
Enemies: Oh-he, Boh x 3
Items: Bomb Up x 2, Fire Up
Area 5-4
Time: 4:30
Enemies: Oh-he, Boh x 3
Items: Bomb Up x 2, Fire Up x 2
Area 5-5
Time: 5:00
Enemies: Boh x 4
Items: Bomb Up x 2, Fire Up x 3
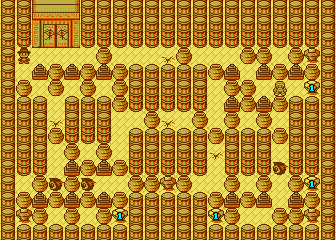
Mode B: Monster Lift
The tongues are warp points that will move the player up or down 2 tiles if stepped on.
Area 5-1
Time: 4:20
Enemies: Oh-he x 3
Items: Bomb Up, Fire Up
Area 5-2
Time: 5:00
Enemies: Oh-he x 3, Boh
Items: Bomb Up, Fire Up x 2
Area 5-3
Time: 4:30
Enemies: Oh-he x 2, Boh x 2
Items: Bomb Up x 3, Fire Up
Area 5-4
Time: 5:00
Enemies: Oh-he, Boh x 3
Items: Bomb Up x 2, Fire Up x 2
Area 5-5

Time: 4:30
Enemies: Boh x 4
Items: Bomb Up x 2, Fire Up x 3
5-BOSS: サンドクロウラ / Sandcrawler
Strafes around Bomberman, only rarely heading straight for him. Launches it claws or stinger in Bomberman's direction, returning once it hits the edge of the screen. It is vulnerable when its claws/stinger are detached.
Requires 8 hits to defeat.
 おーえ / Oh-he: Pursues Bomberman.
 ボー / Boh: Pursues Bomberman.
Mode A: Cave Trial
The screen periodically becomes dark, obscuring enemies and turning soft and hard blocks into silhouettes. Bomb the oil can to light up the room again for 8 seconds.
Area 6-1
Time: 6:30
Enemies: Tsuruhashi x 3
Items: Bomb Up, Fire Up
Area 6-2
Time: 6:30
Enemies: Tsuruhashi x 2, Mogurun
Items: Bomb Up, Fire Up x 2
Area 6-3
Time: 5:30
Enemies: Tsuruhashi x 2, Mogurun x 2
Items: Bomb Up x 2, Fire Up
Area 6-4

Time: 5:30
Enemies: Tsuruhashi, Mogurun x 3
Items: Bomb Up x 2, Fire Up x 2, 1UP
Area 6-5

Time: 5:30
Enemies: Tsuruhashi, Mogurun x 3
Items: Bomb Up x 2, Fire Up x 3
Mode B: Cave Count
Defeat all enemies in order. The next enemy is marked by an arrow in-game.
The screen periodically becomes dark, obscuring enemies and turning soft and hard blocks into silhouettes. Bomb the oil can to light up the room again for 8 seconds.
Area 6-1
Time: 5:00
Enemies: Tsuruhashi x 3
Items: Bomb Up, Fire Up
Area 6-2

Time: 5:00
Enemies: Tsuruhashi, Mogurun x 2
Items: Bomb Up, Fire Up x 2
Area 6-3
Time: 4:30
Enemies: Tsuruhashi x 2, Mogurun x 2
Items: Bomb Up x 2, Fire Up
Area 6-4
Time: 4:20
Enemies: Tsuruhashi, Mogurun x 2
Items: Bomb Up x 3, Fire Up
Area 6-5
Time: 4:40
Enemies: Mogurun x 4
Items: Bomb Up, Fire Up x 3
6-BOSS: フレイムカップ / Flamecup
Bounces 2 tiles at a time (straight or diagonally) towards Bomberman, launching a fireball with each jump. Can only be harmed while it is on the ground; with each hit it spends less time on the ground. At first, it hops 3 times before jumping; after one hit, it hops twice, and afterwards only hopping once between each jump.
The boss's collision detection is noticably spotty, especially once it speeds up. For guaranteed results at its fastest speed, lay a bomb just as the boss lands; it should be hit by the explosion before it makes its next jump.
Requires 8 hits to defeat.
 つるはし / Tsuruhashi: umbrella
 もぐるん / Mogurun: mole
Mode A: Jungle Warp
The shrines serve as warp points between each other, and are numbered on the map. Bombing the switches will raise and lower specific pillars as well.
Area 7-1
Time: 5:00
Enemies: Pakkun x 3
Items: Bomb Up, Fire Up
Area 7-2
Time: 5:00
Enemies: Pakkun x 3, Pii
Items: Bomb Up, Fire Up x 2
Area 7-3
Time: 5:40
Enemies: Pakkun x 2, Pii x 2
Items: Bomb Up x 2, Fire Up
Area 7-4
Time: 6:20
Enemies: Pakkun, Pii x 3
Items: Bomb Up x 2, Fire Up x 2
Area 7-5
Time: 6:20
Enemies: Pii x 4
Items: Bomb Up x 2, Fire Up x 3
Mode B: Forest Maze
The warp shrines are invisible, only appearing when Bomberman is 1 tile away from them. Bombing the switches will raise and lower specific pillars as well.
Area 7-1
Time: 4:20
Enemies: Pakkun x 3
Items: Bomb Up, Fire Up
Area 7-2
Time: 5:00
Enemies: Pakkun x 3, Pii
Items: Bomb Up, Fire Up x 2
Area 7-3
Time: 5:00
Enemies: Pakkun x 2, Pii x 2
Items: Bomb Up x 2, Fire Up
Area 7-4
Time: 5:00
Enemies: Pakkun, Pii x 3
Items: Bomb Up x 2, Fire Up x 2
Area 7-5
Time: 6:00
Enemies: Pii x 4
Items: Bomb Up x 2, Fire Up x 3
7-BOSS: ジャングルヘッド / Junglehead

Slowly pursues Bomberman, floating over hard blocks. Periodically stops to perform an attack; either breathing fire downwards, or launching 2 projectiles to pinball around the arena. It is vulnerable while it is motionless. Be aware that it may stop on top of a hard block, meaning it cannot be attacked.
Requires 9 hits to defeat.
 パックン / Pakkun: Moves aimlessly, pursues Bomberman on sight.
 ピー / Pii: Moves aimlessly, pursues Bomberman on sight.
This world is a boss rush, with no Mode A or Mode B. All seven fights are unchanged, so see the previous worlds for information. Have fun with that.
8-BOSS (8)

Moves in a spiral in the centre of the arena, firing projectiles at Bomberman. Periodically returns to the centre and stops, during which period it is vulnerable.


After 5 hits, the boss is destroyed and replaced by two new foes, one white and one black: they pinball around the arena, firing lasers straight down if Bomberman is within range. Only the white one can be harmed, and they swap colours with each hit. Requires 4 hits each to defeat.

The final form chases Bomberman 4 tiles at a time, stopping to fire a projectile. It is only vulnerable when it has stopped; due to its free-floating nature, it can be difficult for bomb blasts to connect. It seems to be easier to hit if it's moving horizontally before it stops.
Requires 10 hits to defeat.
If you die at any point during this stage, you'll restart at the first phase.
| RETURN TO GAME INDEX |
RETURN TO MASTER GAME LIST |
RETURN TO HOME PAGE |
| page last modified: 03/04/2016 | ||